
Mosaic and Platinum Series and Dimensions Mesh Mount Tile installation tips
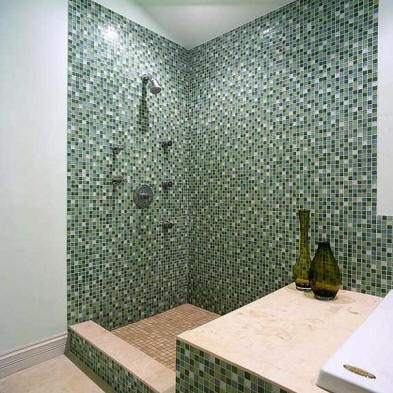
Custom glass shower
Mosaics Glass Tiles can be installed over all conventional tiles setting substrates to be used on walls, counter tops, back-splashes, tub and shower surrounds, etc.
Because glass tiles are nonporous, they do not absorb moisture as will ceramic or clay tiles
Therefore, we recommend the use of high grade latex modified thin-set as a setting material. For more information on mastics, mortars and thin sets for glass tile applications contact your local thin set/mortar supplier. To prevent darkening of the translucent tile color, we also recommend a white thin set. Use a 3/16 inch V-notched trowel; roughly distribute the setting material as needed onto the substrate. Use only enough setting material that can be covered in 10 minutes.
Smooth using the flat side of the trowel, to form a consistent setting bed of approximately 1/8″ thick. Bed the tiles, PAPER-SIDE OUT OR mesh-side down where applicable. Tap into place using a Beater Block found at most hardware or tile supply stores. Apply subsequent tile sheets so that the grout joints line up, providing for a consistent field. Wait 15-20 minutes (time may vary depending upon environmental conditions) for the setting material to slightly bond. To remove the paper facing, wet the paper with a sponge and warm water.
After a minute or so, slowly pull off paper at a downward angle. Should tiles inadvertently be removed during this process, simply stick them back in place with a dab of setting material. After the setting material has completely bonded, wash and prepare the glass for grouting. To clean, use a simple nylon-bristle brush and a sponge with warm water and remove any residue or paper backing from glass.
Dimensions Large Format Tile White high grade latex modified thin set is recommended to prevent darkening of tile color. For more information on mastics, mortars and thin sets for glass tile applications contact your local supplier. Using a “x” square-notched trowel, roughly distribute the setting materials onto the substrate. Use only enough setting material to be covered in 10 minutes. Smooth using the flat side of the trowel, to a consistent setting bed of approximately 3/16″ thick. Clean the back of each tile using a dry cloth. Back-butter each piece and press the glass into the setting bed. This technique will fill-in the texture and dry without trapping air.
Remove excess setting material to provide a 1/8″ grout line. Allow to cure at least 24 hours. To clean use a simple nylon-bristle brush and a sponge with warm water. Grouting For grout lines less than 1/8″ we recommend the use of an unsanded grout. When grouting in conjunction with stone or marble or wherever grout lines are 1/8″ or larger, we recommend sanded grout.
For more information on mastics, mortars and thin sets for glass tile applications contact your local supplier. Prepare grout according to the manufacturer’s directions. Spread the grout over the surface using a float, pressing it deep into the joints. Grout joints will take longer to set up because glass tile is non-porous and does not absorb moisture. Let set for approximately 20 minutes; then clean off excess grout with a dry cloth or paper towel. Once the tile is clean, go back over with clean water and a damp sponge to remove any residue.
Hand Cutting The easiest, fastest way to cut glass tile is with a simple glass scoring tool and running pliers. Score the glass lightly on the front along the desired cut line. Hold tile between jaws of the running pliers with score lined up with center mark on top. Gradually squeeze to apply pressure to the glass tile until the tile breaks. Squeezing gently will give you more control over the way the tile will break. The hand-held scorer/breaker combines the glass scorer and the running pliers into one convenient tool.
The manual 2-bar tile cutter can also be used to score and break the glass tile. These are available at most tile or home improvement centers. Saw Cutting Glass Mosaics Glass Tiles may also be cut with a diamond blade wet saw. Be sure to use a diamond blade specifically designed for cutting glass. Ceramic blades tend to be coarser and will chip the glass. It is very important when cutting glass to use adequate amounts of water to cool the blade and to cut slowly. Many manufacturers offer solutions for cutting glass.
A lapidary blade also makes a very clean cut on glass tiles. In addition to standard wet saws for your straight cuts, there are diamond band saws, which allow the user to make radius turns for more intricate design work. When cutting glass on a wet saw, cut tile face down. This will prevent the face of the tile from chipping.
A light piece of cardboard on the saw’s cutting table will protect the surface of the glass from scratches during the cutting process. If necessary, finish edges of the glass with a glass grinder or scythe stone.